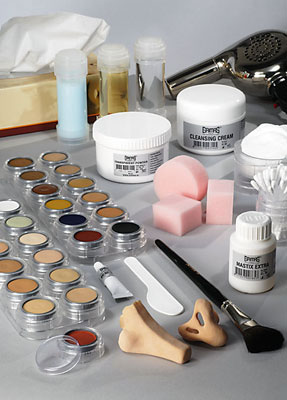

Set out ready for use:
Towel / cape
Water bowls
Toothbrush
Tissues
Cotton buds
Cotton wool pads
Do not use ready-to-use cleansing cloths.
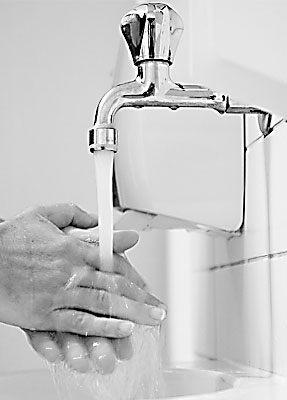
Before starting, you ensure your hands and nails are well cleaned. File your nails if necessary, so that there are no snags. By doing this you prevent damages on the face and risk of infection.
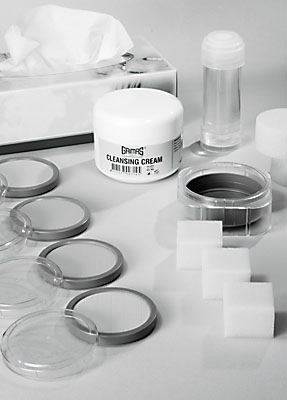
Always work using clean materials (sponges, brushes, spatulas, water bowls) and change the water regularly.
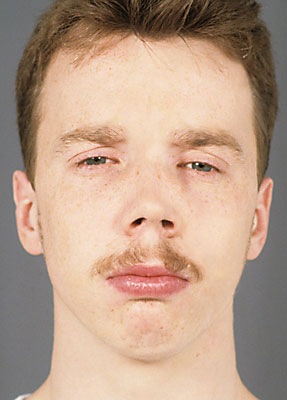
Get the subject to put on any clothes beforehand that have to be put on over the head. Protect your models clothing with a hairdressing cape or a towel.

It is important to follow the instructions for removing the make-up, particularly if the make-up is being used several days in a row.

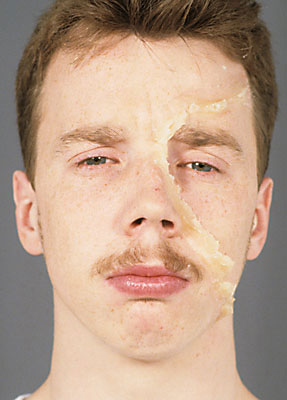
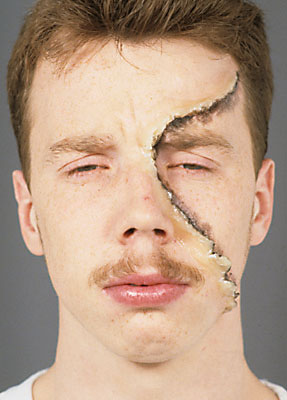
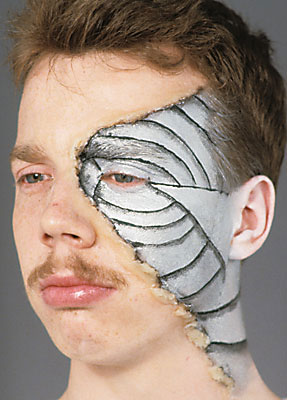
With pieces of Derma Wax that fit together you create step by step a streamer-shaped construction across the face.


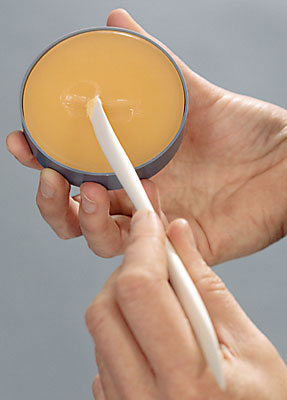
Use the convex rounded side of the Derma Wax Spatula to take Derma Wax out of the jar. By scraping it out, you already make the texture a bit flexible.

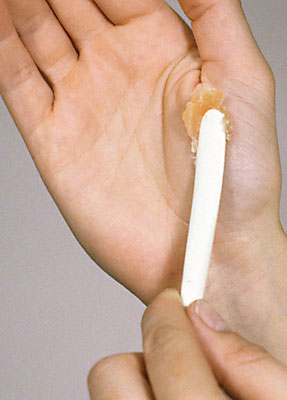
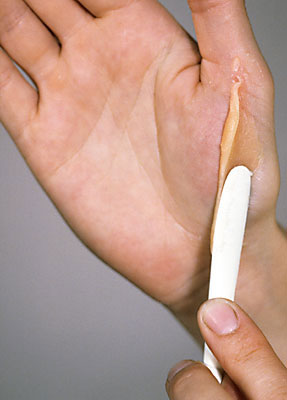
Apply Derma Wax to the skin with the convex rounded side of the spatula and smooth the edges down so that grease and moisture cannot get underneath. Smooth the Derma Wax surface and edges off with the fingertip, using a little bit of Grimas Cleansing Cream. Dab all over with a dry, clean make-up sponge. Powder the whole with a make-up sponge with Grimas Transparent Powder to matt and fix it; then turn the sponge over and continue dabbing with the clean side until the excess powder has been removed.

Opening the wound edges up allows you to create a tattered effect. Raise the 'wound edges' using a Derma Wax spatula, lightly lubricated with Cleansing Cream. Do this carefully.
First you colour the wound black, using a brush, to suggest depth. Water Make-up (Pure) works basically the same way as watercolour paints.


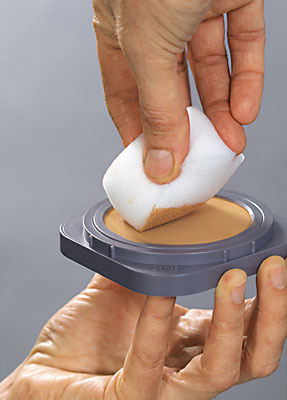
You can press the make-up sponge down onto a tissue to remove any excess moisture.
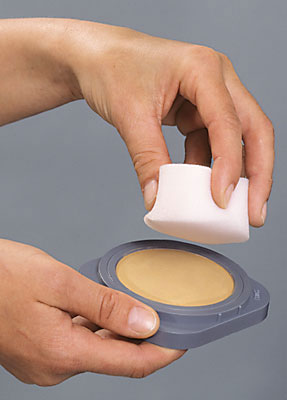
Take the make-up sponge between the fingertips and squeeze it together to create a round surface. With this surface the make-up can be applied.

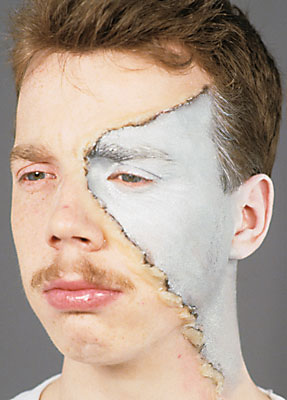
Advice: white Cake Make-up is transparent and therefore never completely covers up.
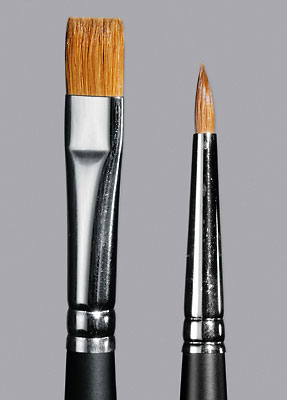
Water Make-up works just like watercolour paint. The best way to apply Grimas Water Make-up (Pure) and Water Make-up Pearl Pure is to use a brush. Use the brush and a little water to soften the make-up and make it a bit pasty. Test the colour intensity on the hand. Don't work too dry, but do not use too much water. Water Make-up (Pure) dries within 15 seconds. If you do not want the colours to mix, be sure to wait for the first layer to dry before applying another colour over it or up against it.


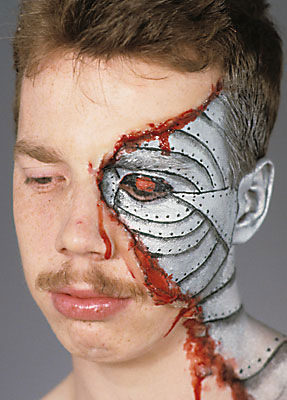
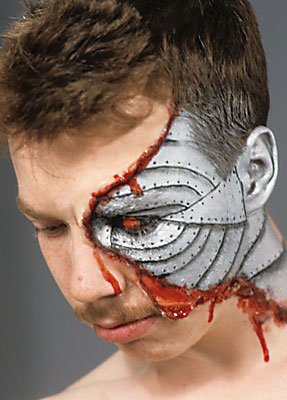
Blood
You can apply it directly from the tube or with a brush. Apply copious amounts of blood using a brush, until the blood starts to run.
You colour the eyelid red with Water Make-Up Pure.
General tip: Water Make-up can be used to add (additional) colour to the hair and eyebrows, provided that the hair is not permed, bleached or dyed. Use a toothbrush to do this.


Scrape the Derma Wax off the skin with the spatula. Then massage Grimas Multi Remover Pure or Cleansing Cream into the skin and remove the material with a tissue. Do not use Afschmink, as this contains waxes and oils which actually adhere the Water Make-up to the skin. Cleanse the skin afterwards with cleansing lotion.
Hair that has been coloured using Water Make-up (Pure) can be washed with shampoo.


If necessary, rinse the Water Make-up clean and wipe the surfaces of the colours dry with clean tissues. Let the make-up dry out in the air and only put the lid back on when the Water Make-up is dry. Store it in a dry and cool place until the next time you use it. Store the make-up in a dry and cool place until the next time you use it.
The sponges are disposable so you can throw them away after use. If you do want to reuse them, first rinse them under the tap with some soap or shampoo or wash them in the washing machine (in a net bag or pillow case), set to at least 60°C.
You can clean brushes with water and soap or shampoo. Put the moist hairs of the brushes back into shape by hand after washing. Dry the brushes lying flat on a towel and do not place them upright, since that causes the moisture to run down into the shaft.