The wax must be flexible but also firm and must definitely not be allowed to get too soft and sticky.
MODELLING

Apply the Derma Wax. Smooth the edges flat so that grease and moisture can not get underneath.

Smooth the Derma Wax surface and edges off with the fingertip, using a little bit of Grimas Cleansing Cream.
Dab all over with a dry, clean make-up sponge. Doing this, you remove the excess Cleansing Cream and you create a skin-texture effect.
Powder the whole with a make-up sponge with Grimas Transparent Powder to matt and fix it; then turn the sponge over and continue dabbing with the clean side until the excess powder has been removed.
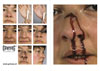
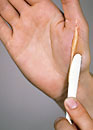
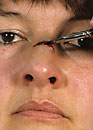
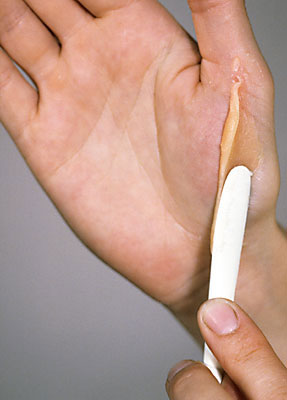
MAKING A CUT

To create an 'open wound', the Derma Wax construction has to be 'cut open' with the sharp side of a Derma Wax spatula. Lubricate the tip of the spatula with a little bit of Cleansing Cream. This will allow the spatula to slide more easily through the Derma Wax, preventing it from sticking to the spatula. Make a horizontal cut in the Derma Wax structure across the nose.

To add a suggestion of depth to the 'wound', colour the bottom of the wound using black make-up. Then you colour the inner side of the wound with dark red make-up (Grimas Water Make-up Pure or Crème Make-up Pure).

For the best user experience, we make use of functional cookies and cookies for the managing of web statistics, advertisements and social media.