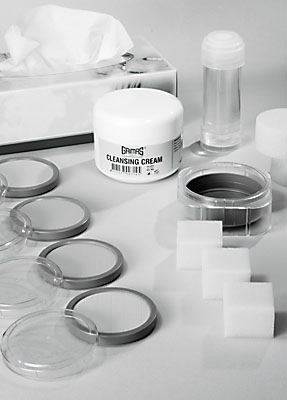

Set out ready for use:
Towel / cape
Cotton buds
Tissues
Cotton wool pads
Water bowls
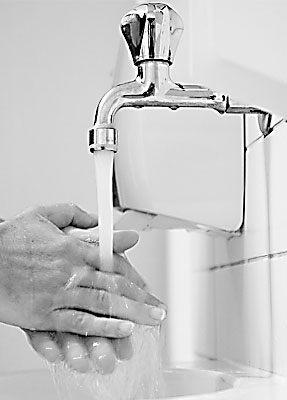
Before starting, you ensure your hands and nails are well cleaned. File your nails if necessary, so that there are no snags. By doing this you prevent damages on the face and risk of infection.
Always work using clean materials (sponges, brushes, spatulas, water bowls) and change the water regularly.
Get the subject to put on any clothes beforehand that have to be put on over the head. Protect your models clothing with a hairdressing cape or a towel.
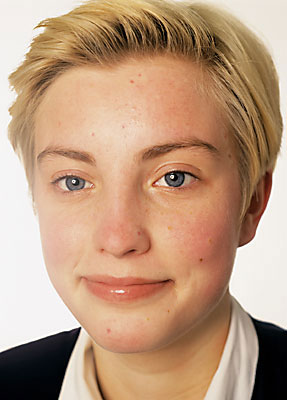
With a dry or sensitive skin, you can apply Grimas Under Make-up Base. Allow 10 minutes for it to be absorbed before you continue.
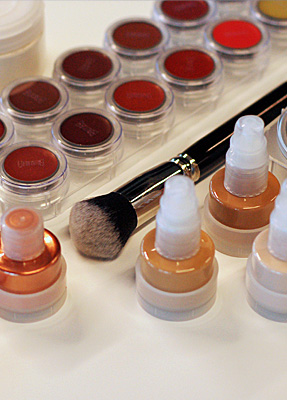
You start by applying a base. In this example we are working with a base of Grimas Foundation.
In the case of combination skin, you could apply some Grimas Anti Shine to the greasy parts of the skin (nose, chin) before applying the make-up.
Grimas Anti Shine is an excellent means of providing the skin with a matt finish and is suitable for various make-up applications. It is an ideal product for preventing a shiny effect and it improves the endurance of the make-up. Apply Anti Shine in a very thin layer with the finger or a latex sponge.


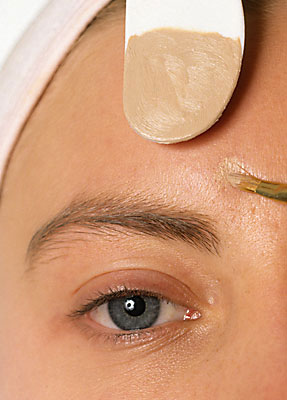
For a day make-up the main aim of the base is to give the skin an even appearance.
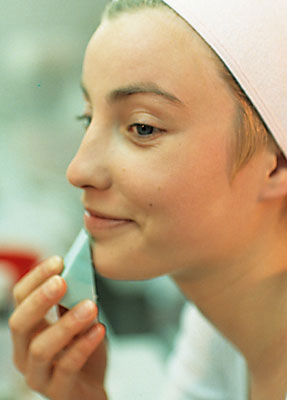
Squeeze a little foundation out of the tube onto a clean spatula. Work from the spatula using a clean, dry latex sponge or a slightly moist make-up sponge, applying the foundation to the skin in a thin layer.
If you want a more transparent but still mat result, you can mix the Foundation on the spatula with Under Make-up Base.

You can also create this example using: Covercream Pure
Grimas Covercream Pure is a well covering make-up, based on oils and waxes. Covercream Pure is highly suitable for light cosmetic camouflage. Covercream Pure can be applied directly to the skin.
Hiding pimples:
Work directly from the stick. The shape of the Latex Make-up Sponges makes them good for getting at difficult spots and perfect for all finer make-up work.


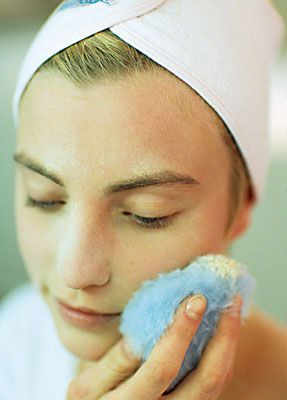
To fix and matt it, you can powder the Foundation off with Grimas Make-up Powder. Make-up Powder is light-coloured but works out transparent.
Make-up Powder can be applied with a Grimas Velour Powder Puff, a Powder Puff or a Powder Rouge Brush. Gently tap the puff or brush on the back of the hand and then apply lightly on top of the make-up. Allow to settle in and remove the excess powder with a Powder-Rouge Brush.


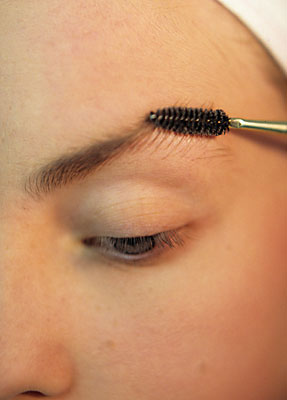
You touch up the eyebrow using Grimas Eyeshadow/Rouge in a suitable colour.
Use a brush to take out Eye Shadow/Rouge in the desired colour and determine the colour intensity on the hand before you apply the powder. You comb the eyebrow hair (for example with a clean, dry mascara roller or eyebrow comb) in a downward direction and fill in the upper edge. Use an MS2 or MS4 brush for this (with obliquely cut hairs)
Hint: you can also use a brush (for instance R4 or M4) of which you yourself have cut the hairs diagonally.
Work from the centre to the outer areas and do not begin right where it starts. Then you push the hairs upwards and fill in the eyebrow a little from the bottom.
Use the brush to apply a thin layer of Eyebrow Fixer to the eyebrows. Use the brush to fix the hairs in the right direction. You can repeat the process several times, each time only using a little of the product.


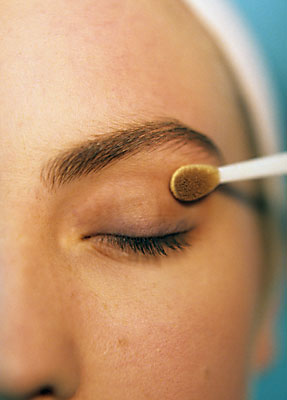
Apply a light-coloured Eye Shadow/Rouge to the upper eyelid using the applicator. In principle, you apply a light-coloured eye shadow to the upper eyelid, a dark colour in the eye fold and a light colour to the eyebrow arch.


Hint: if the tip feels hard on the skin and won't draw properly, then warm the tip of the pencil in your hand or sharpen the tip again. Grimas Sharpener is a pencil sharpener for two sizes of make-up pencils: thick and thin. The sharpener blades are specially suited to the somewhat softer texture of a make-up pencil.


Repeat applying the mascara until the desired result is achieved.
If required, you can apply mascara for a second or third time by brushing along the eyelashes using the brush in the direction of the outer corner of the eye. This makes the eyes appear more almond-shaped.
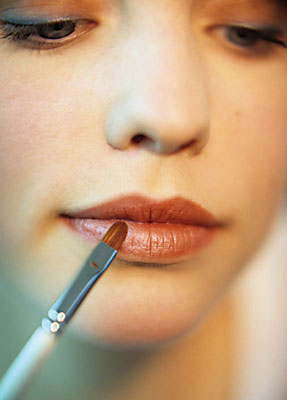
Take the Lipstick (Pure) onto a spatula (even if you are working from a stick) and apply it with a lip brush. First colour the middle of the lips and then colour the edges, working from the outside inwards. Dab the result with a tissue to matt it off.
Hint: to make the lips appear shiny you can also apply Gloss on top of the Lipstick. The lips are in that case not 'kiss-proof'.


Store the make-up in a dry and cool place until the next time you use it.
The sponges are disposable so you can throw them away after use. If you do want to reuse them, first rinse them under the tap with some soap or shampoo or wash them in the washing machine (in a net bag or pillow case), set to at least 60°C. You can also wash the (Velour) Powder Puff in the washing machine.
The loose sponge tip of the Applicator should be replaced regularly, but you can also wash it with soap or shampoo a few times.
You can clean brushes with water and soap or shampoo. The Powder and Blusher Brush is cleaned like this too. Put the moist hairs of the brushes back into shape by hand after washing. Dry the brushes lying flat on a towel and do not place them upright, since that causes the moisture to run down into the shaft.