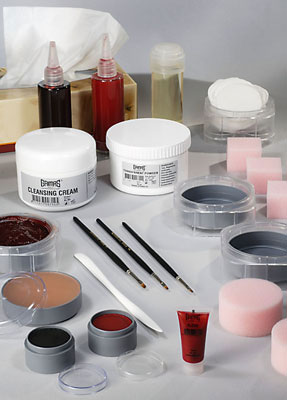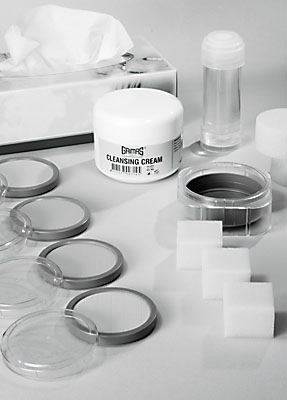

Set out ready for use:
Towel / cape
Tissues
Do not use ready-to-use cleansing cloths.
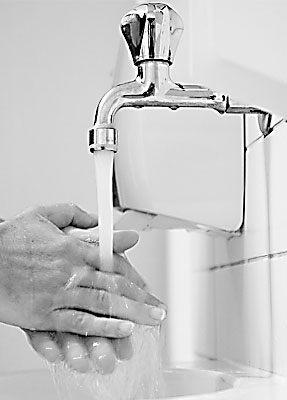
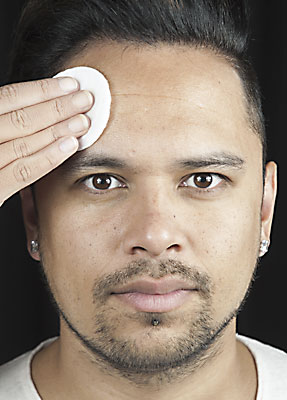
Before starting, you ensure your hands and nails are well cleaned. File your nails if necessary, so that there are no snags. By doing this you prevent damages on the face and risk of infection.
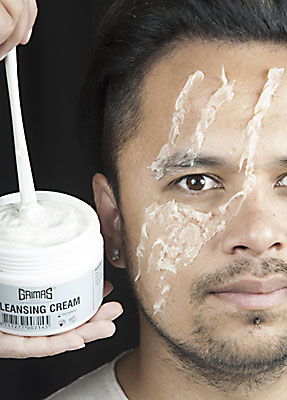
Always work using clean materials (sponges, brushes, spatulas, water bowls) and change the water regularly.
Get the subject to put on any clothes beforehand that have to be put on over the head. Protect your models clothing with a hairdressing cape or a towel. You can also use an old shirt for this: put it backwards on your model and cut the sleeves to the correct length if necessary.

It is important to follow the instructions for removing the make-up, particularly if the make-up is being used several days in a row.
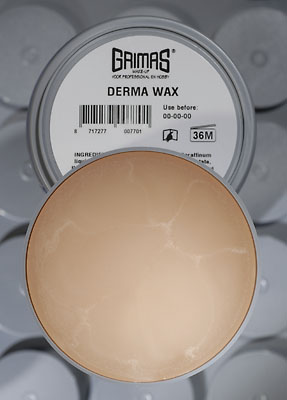
Grimas Derma Wax is an easily malleable transparent wax for professional make-up purposes, that adheres well to the skin.
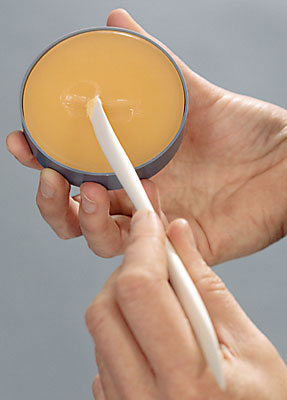
The wax must be flexible but also firm and must definitely not be allowed to get too soft and sticky.
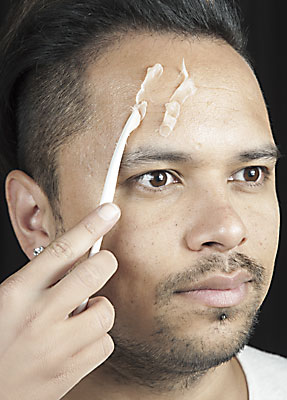
Apply the Derma Wax to the skin with the convex round side of the spatula.
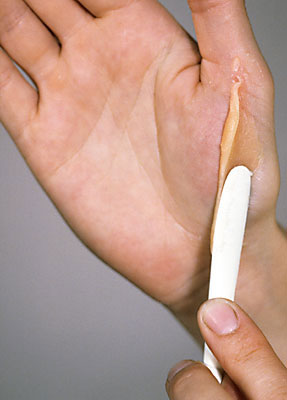
Carefully close the edges with the Derma Wax spatula, so that no fat or moisture can get underneath.
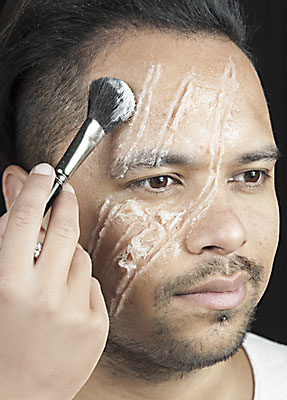
Dab all over with a dry, clean make-up sponge. Doing this, you remove the excess Cleansing Cream and you create a skin-texture effect.
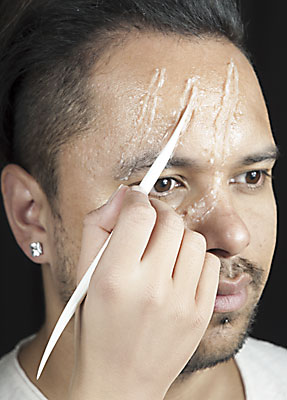
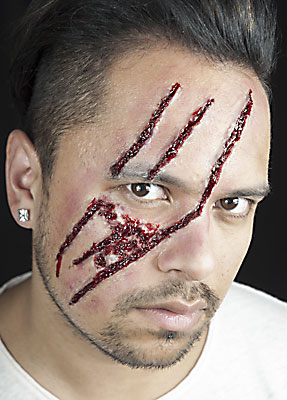
To create an 'open wound', the Derma Wax construction has to be 'cut open' with the sharp side of a Derma Wax spatula.
Tip: Let the model (especially if it is a child) feel in advance that the Derma Wax Spatula is not really sharp, to prevent a shock reaction when making the cut.
Lubricate the tip of the spatula with a little bit of Cleansing Cream. This will allow the spatula to slide more easily through the Derma Wax, preventing it from sticking to the spatula. Hold the Derma Wax Spatula slantwise on the skin when cutting so that the spatula does not feel too sharp for the model.

Colour the bottom of the wound with Grimas Water Make-up 101 and brush IMP6, to suggest depth in the wound.
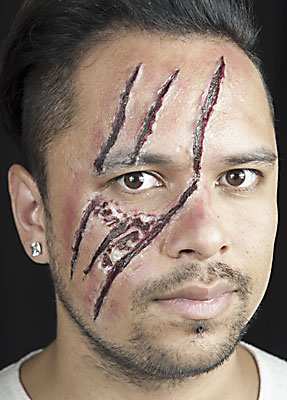

In the end, finish the wound with Grimas Filmblood. There are different shades of Filmblood: from light red (oxygen-rich blood) to dark red (oxygen-poor blood). You can apply it directly from the bottle.
Start with scraping off the majority of Derma Wax from the skin with the Derma Wax Spatula. Do this carefully, because the Derma Wax spatula can feel sharp.
If bloodproduct is still present on the skin, first remove it with cold water (by rinsing or by using a make-up sponge or tissue).
Massage the skin with Grimas Multi Remover or Cleansing Cream and then carefully scrape the skin with the Derma Wax Spatula again to remove the sticky residue of makeup. Repeat the massaging and scraping off as many times as necessary.
If a slight film forms on the skin, cleanse it afterwards with Grimas Cleansing Lotion.

Remove any residual make-up from the Derma Wax Spatula with kitchen roll or another sturdy piece of paper towel. Clean the spatula further with water and soap or shampoo. To make the spatula completely free of grease, you can clean it with Grimas Mastix Remover.
The sponges are disposable so you can throw them away after use. If you want to reuse them, first rinse them under the tap with some soap or shampoo and then wash them in the washing machine (in a net bag or pillow case) set to at least 60 ° C.
You can clean brushes with water and soap or shampoo. Put the moist hairs of the brushes back into shape by hand after washing. Dry the brushes lying flat on a towel and do not place them upright, since that causes the moisture to run down into the shaft.