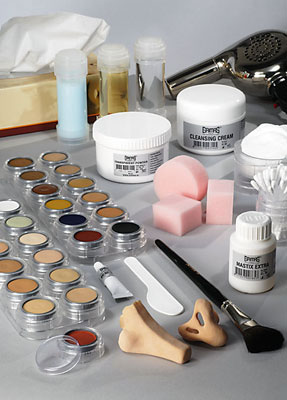

Set out ready for use:
Towel / cape
Water bowls
Pin-tail comb
Tissues
Straightener / iron
Scissors
Hairspray
Cotton wool pads
Do not use ready-to-use cleansing cloths.
When you are going to be using the Wool Crepe hairpiece, you soak it gently loose from the head with alcohol and place it in tissues in a sturdy box. Now it is ready to take away for use.


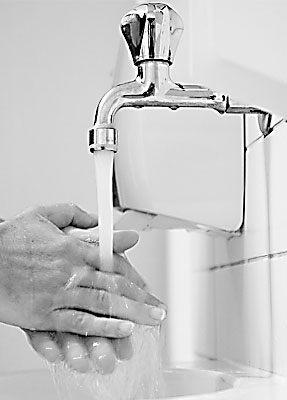
Before starting, you ensure your hands and nails are well cleaned. File your nails if necessary, so that there are no snags. By doing this you prevent damages on the face and risk of infection.
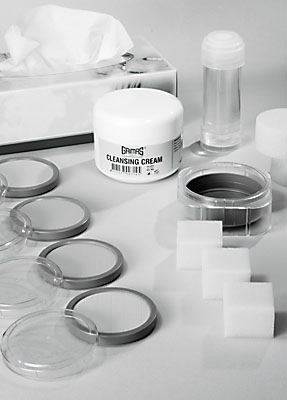
Always work using clean materials (sponges, brushes, spatulas, water bowls) and change the water regularly.
Get the subject to put on any clothes beforehand that have to be put on over the head. Protect your models clothing with a hairdressing cape or a towel.

Hint: in the example the decision was made to stick on the Wool Crepe first and then to paint the face.
You can also paint the face first and then stick on the Wool Crepe. In the latter case, make sure the skin is free of grease first by applying Cleansing Lotion.

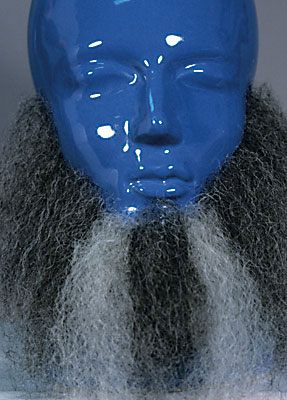
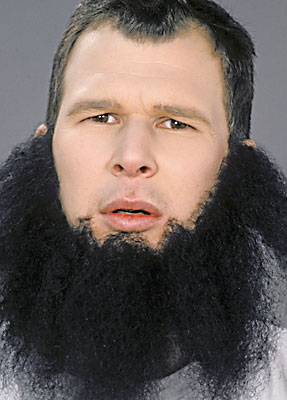
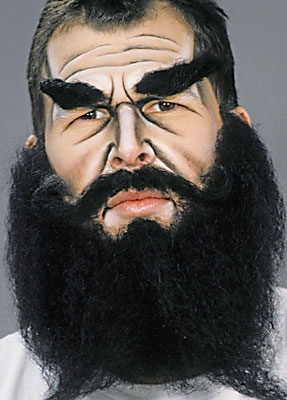
This character has a beard made of Wool Crepe.

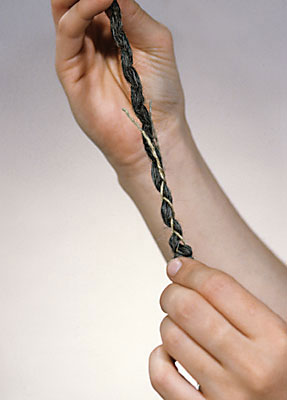
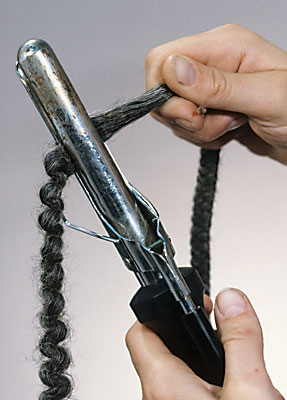
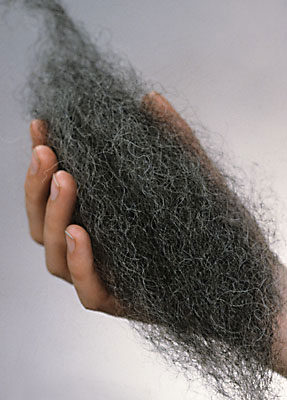
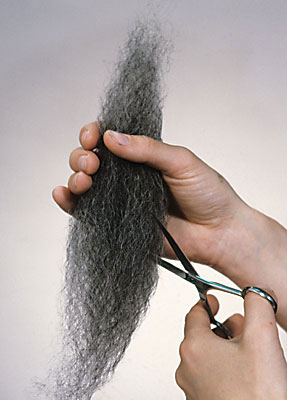
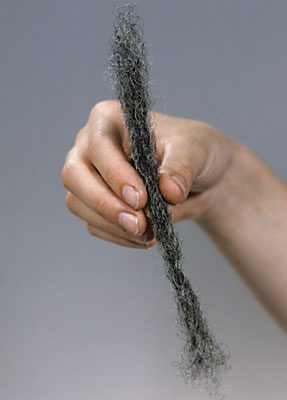
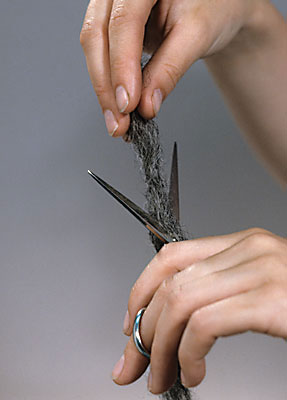
Straighten the part you are working with, using a curler, styling tongs or an iron (on the 'wool' setting), until it has a slight wave.
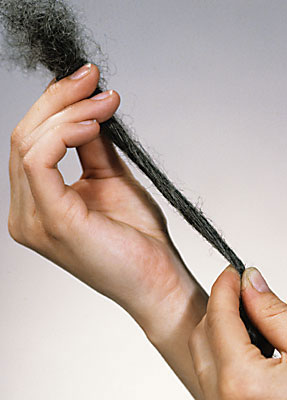
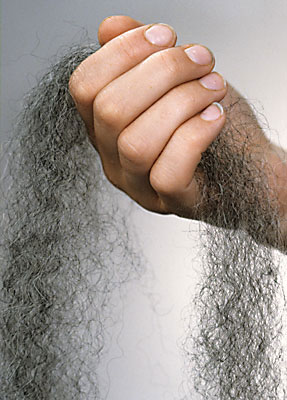
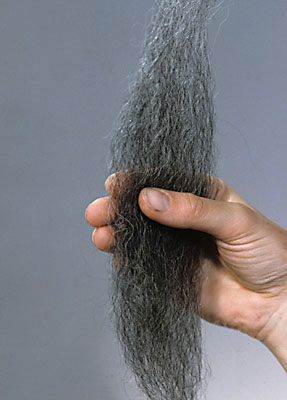
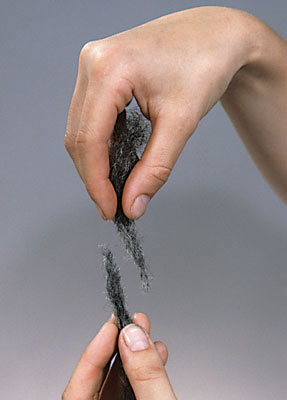
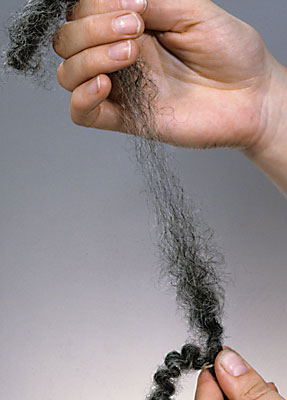
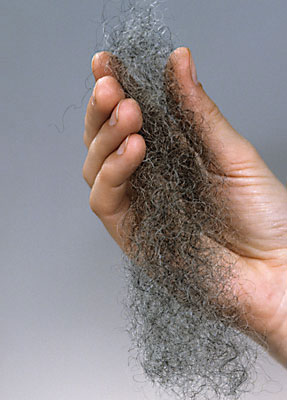
Now make the piece that you are working with longer and looser: run it through your hands and pull it gently bit by bit in the lengthwise direction, but so that the piece still remains intact.
If you want, you can mix the tuft with Wool Crepe of another colour.

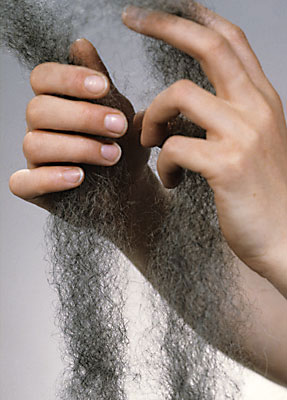
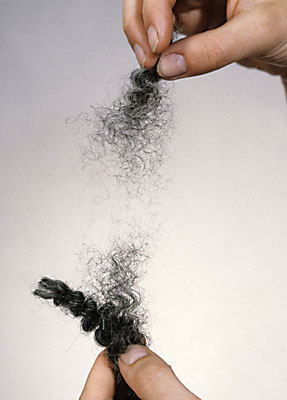
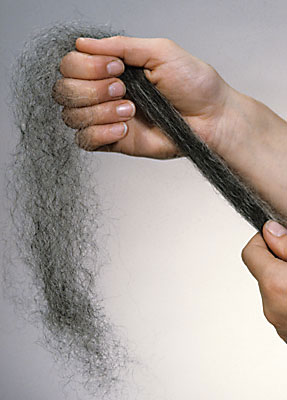
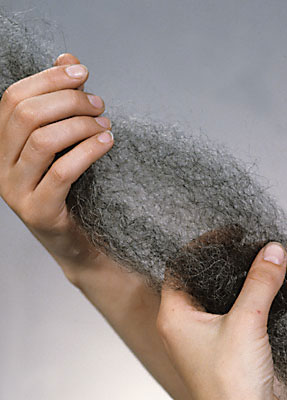
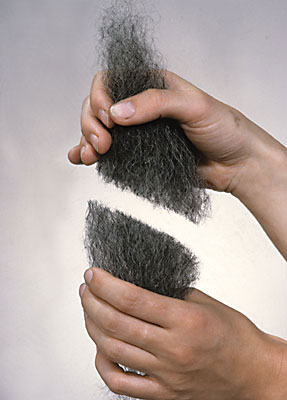
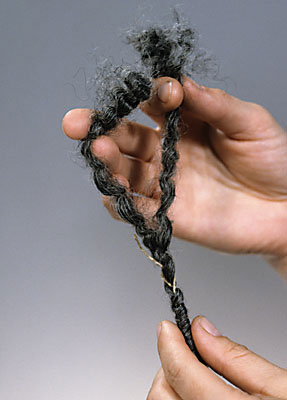
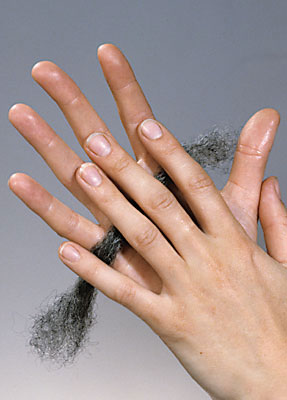
Pull the loosened string into three equal pieces. Do the following with each of the pieces: pull the piece loose in the middle, in the lengthwise direction with the hairs; then place the two pieces on top of each other and divide them into two again.
Hint: you can vary the thickness of the pieces slightly. You can use the thinnest tuft for the whiskers.
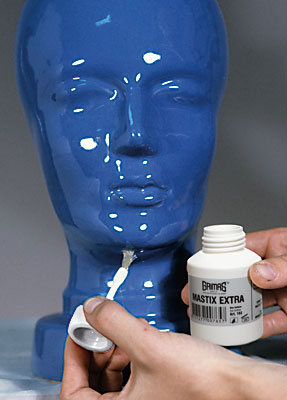
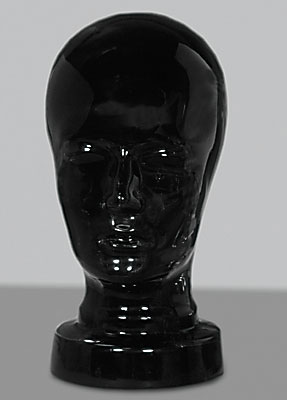
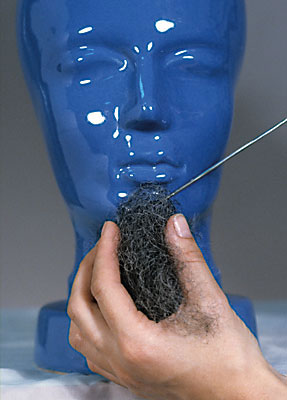
You can create the beard beforehand on a ceramic head but you can also create it directly on the skin.
Work preferably work on a dry base.
Using Grimas Mastix Extra (or Mastix Watersoluble in a training course situation), you attach these obliquely cut pieces step by step.
Please note: place the cut surfaces on the skin in such a way that the points of the tufts, which have been gently snipped diagonally, point forward or downward, in the natural direction of growth of a beard.

Attaching sequence: you attach piece 1 just under the chin, with the point forwards.
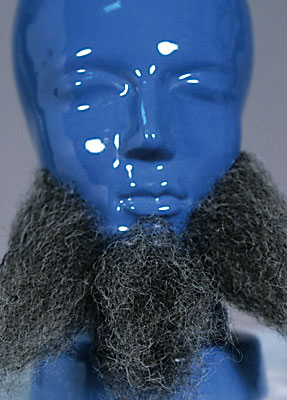
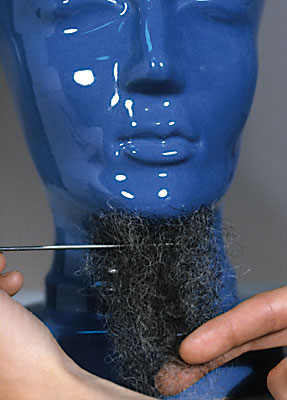
Please note: during attachment, keep the cut surfaces tightly together to ensure full whiskers (sideburns), also after modelling.
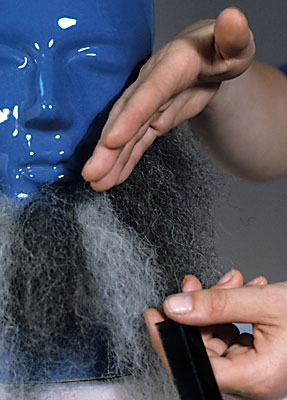
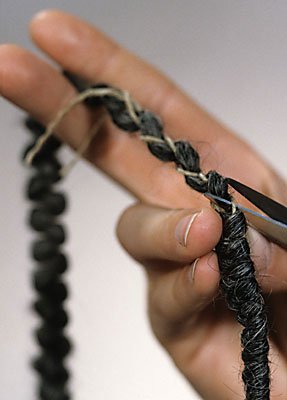
Press the adhesive edge onto the skin with one hand, and model the Wool Crepe pieces together with the other hand. You do this with the end of a pin-tail comb or the back of a brush, until the beard appears as a single item.
Please note: do not comb!
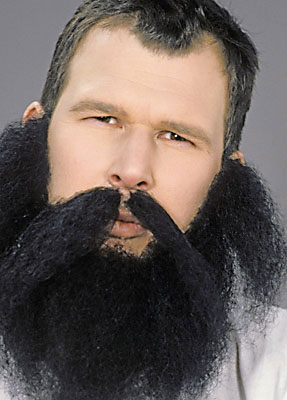
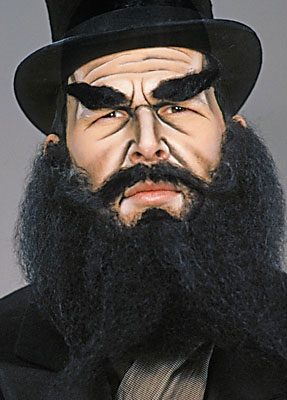
This character has a moustache made of Wool Crepe.
Straighten out the part you are working with, using a curler, styling tongs or an iron (on the 'wool' setting).
The piece for the moustache must be properly straightened.
Now make the piece that you are working with longer and looser: run it through your hands and pull it gently bit by bit in the lengthwise direction, but so that the piece still remains intact.
If you want, you can mix the tuft with Wool Crepe of another colour.
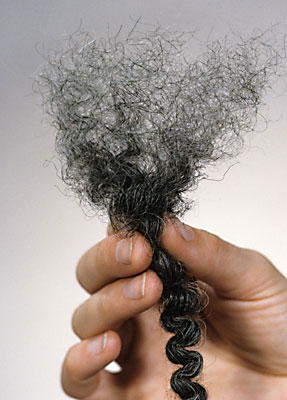
Once the wool crepe is straightened, we are going to make a flat tuft. Pull the loosened piece into two in the middle, in the lengthwise direction along with the hairs; place the two pieces on top of each other and divide them into two again. Keep the hands about 20 cm apart. Keep repeating this action until the Wool Crepe is transparent.

Work preferably work on a dry base. Work piece by piece.
Applying Grimas Mastix Extra (or Mastix Watersoluble in a training course situation) as the adhesive, press the cut surface/obliquely cut side into the glue.
Absolutely do not use near or above the eyes.
Please note: during attachment, keep the cut surfaces tightly together to ensure a full moustache, also after modelling.
Please note: do not comb!
You can use scissors to create the desired model for the moustache. You can create the curl using a greasy substance (pomade, wax).
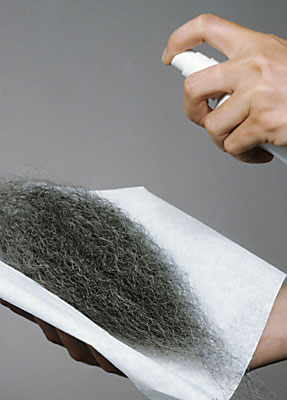
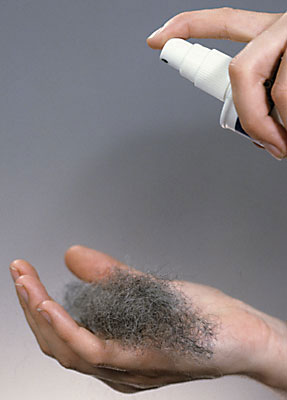
Fix the result with a hairspray.
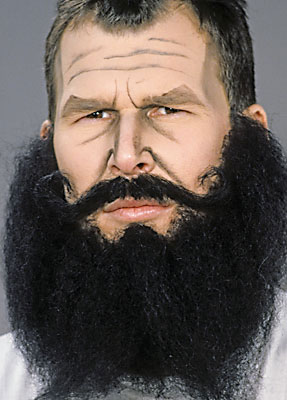
This extreme type has sharp features. The make-up is an exaggerated version of the ageing technique, for a good effect at a distance. To model the face, you accentuate the deeper lying areas using Crème Make-up in a dark colour.
Important areas for shading are the eye sockets, the temples, the side of the nose and below the cheekbones. You draw the lines with a flat sable-hair brush. By placing it obliquely on the skin you get a sharp edge on one side and a fading effect on the other side. To determine which side should be sharp and which side faded, you start from the centre of the face (nose). Create a fading effect towards the outside. The lines from the eyes towards the forehead (vertical frowning wrinkles) and the naso-labial ('nose-lip') fold are therefore sharp in the direction of the nose and more blurred towards the outside. Bags under the eyes are sharp on the lower side and must be faded towards the upper side. The parts of the face that have not been shaded now seem to have been brought forward.

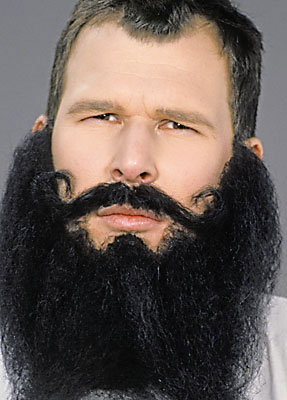
This character has eyebrows made of Wool Crepe.


Now make the piece that you are working with longer and looser: run it through your hands and pull it gently bit by bit in the lengthwise direction, but so that the piece still remains intact.
Can cause serious damage to the eyes. Protect the eyes by closing them and covering them with a tissue.
For this character the eyebrows are stuck on at an angle to give a mean effect. The structure of the eyebrows is also full and bristly.
You use scissors to create the desired model for the eyebrows. If necessary, open the structure a little and model them using the end of a pin-tail comb or the back of a brush. Repeat the process of cutting and opening if necessary until the desired result has been achieved.
Apply white make-up to the higher parts of the forehead, above the temple, next to the frown wrinkles on the wings of the nose and on top of the nose. The eyebag is also lightened a little.
Between the higher parts of the brow some subtle shadowing is done to generate more depth.
If necessary, blur the segments and lines that are to be faded using a dry make-up sponge. You do this with a dabbing action, without wiping.
If you have worked with Grimas Mastix Watersoluble, you can remove the Wool Crepe with lukewarm water and a little soap if necessary. Wool Crepe that has been stuck on with Mastix Extra you remove with Mastix Remover. You can then already pull some of the hairs loose and remove them with a tissue. The remaining hairs and the adhesive you remove with a cotton wool pad and Mastix Remover. Dab it carefully onto the skin and roll the residual material off the skin.
You can clean the skin further if required with a cleansing milk or cleansing cream. Massage it in gently and remove it with a soft tissue. Cleanse afterwards with Cleansing Lotion.